Introduction to DIY Painting
Welcome to the world of DIY painting! Whether you're looking to refresh a room, add a splash of color, or completely transform your home's ambiance, painting is one of the most cost-effective and rewarding ways to achieve your goals. This guide is specifically crafted for homeowners in Wilmington, OH who are new to painting but eager to learn the ropes in 2026. Let's dive into the essential steps and tips to ensure your DIY painting project is a success.
Getting Started: Planning Your Project
Choose the Right Colors
Color selection is crucial and can significantly affect the mood and perception of space. In 2026, popular trends lean towards earthy tones and calming pastels, but ultimately, the choice should reflect your personal style and the function of the room. Consider the amount of natural light and the existing decor when choosing your paint colors.
Calculate the Paint Needed
To avoid multiple trips to the store, accurately calculate the amount of paint needed. Measure the height and width of all walls, then multiply to get the total square footage. Don't forget to subtract the area of windows and doors. Generally, one gallon of paint covers about 350 square feet, but always check the specific coverage on your paint can.
Gathering Supplies
Before you start painting, ensure you have all the necessary supplies:
- Paint and Primer: Depending on the surface, you may need a primer to ensure the paint adheres properly.
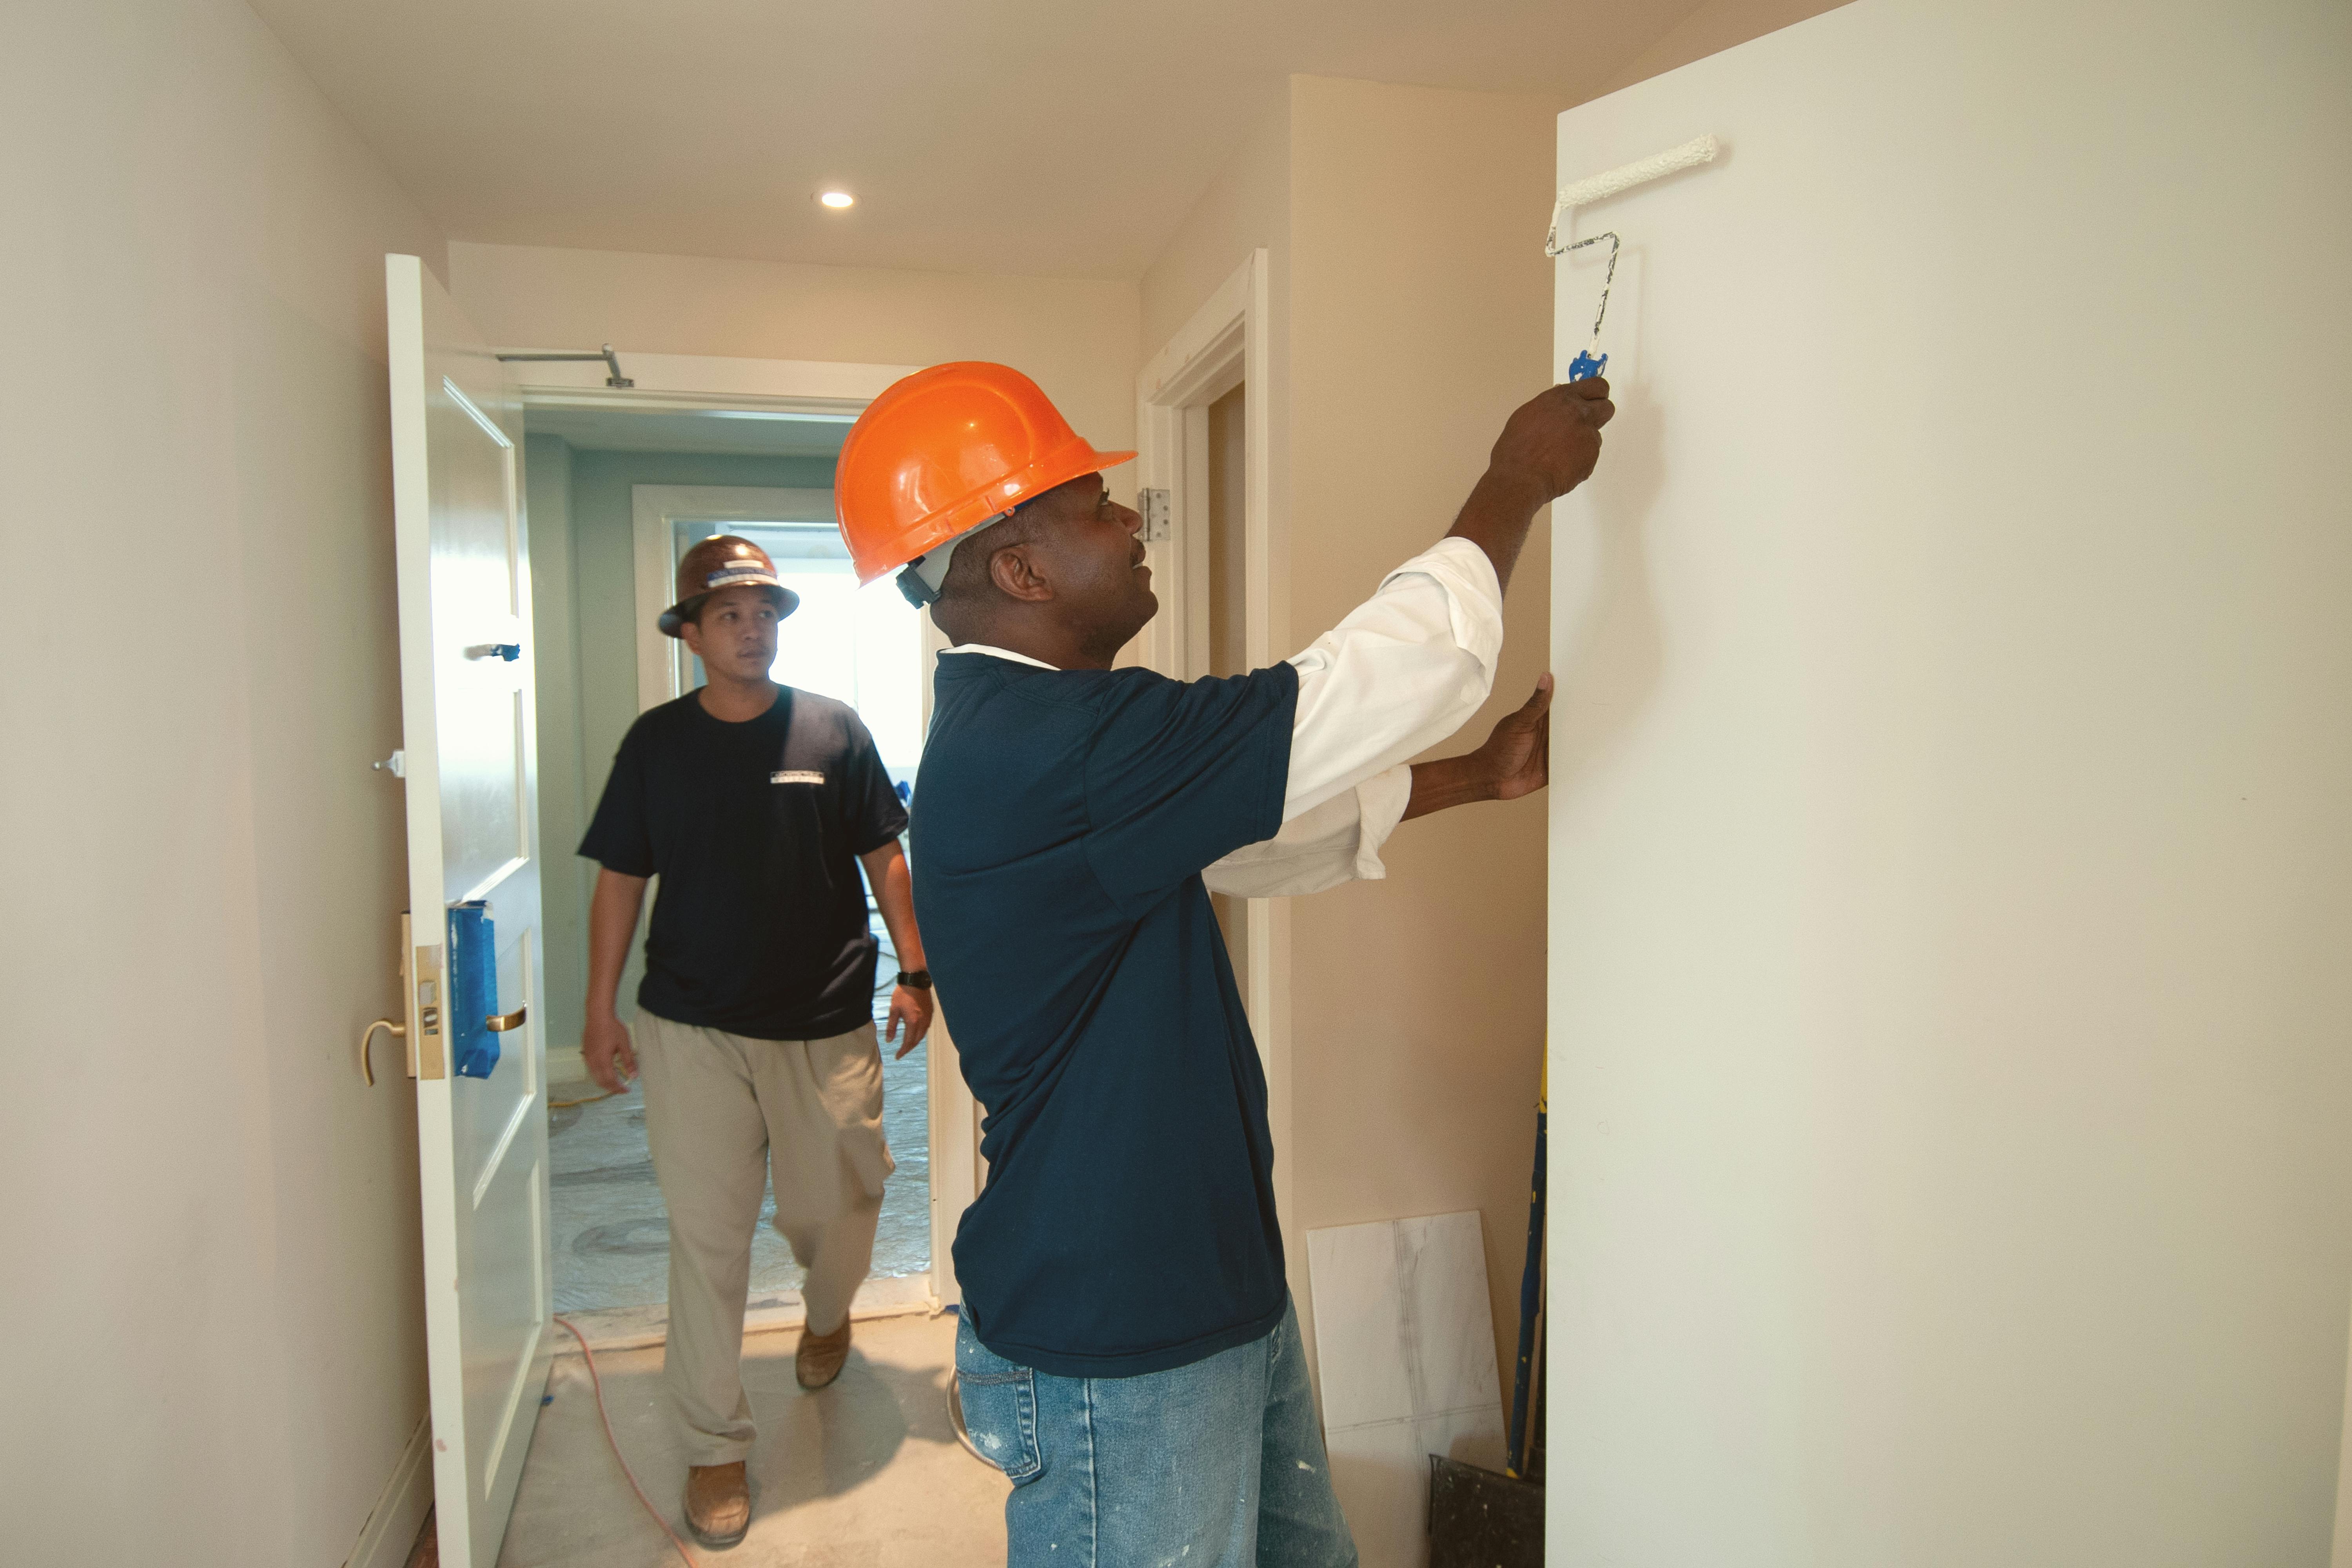
- Brushes and Rollers: Use quality brushes for cutting in and rollers for large surfaces. Consider roller extensions for high walls.
- Painter’s Tape: Protect trim, ceilings, and other surfaces from accidental paint coverage.
- Drop Cloths: Protect your flooring and furniture by covering them with drop cloths.
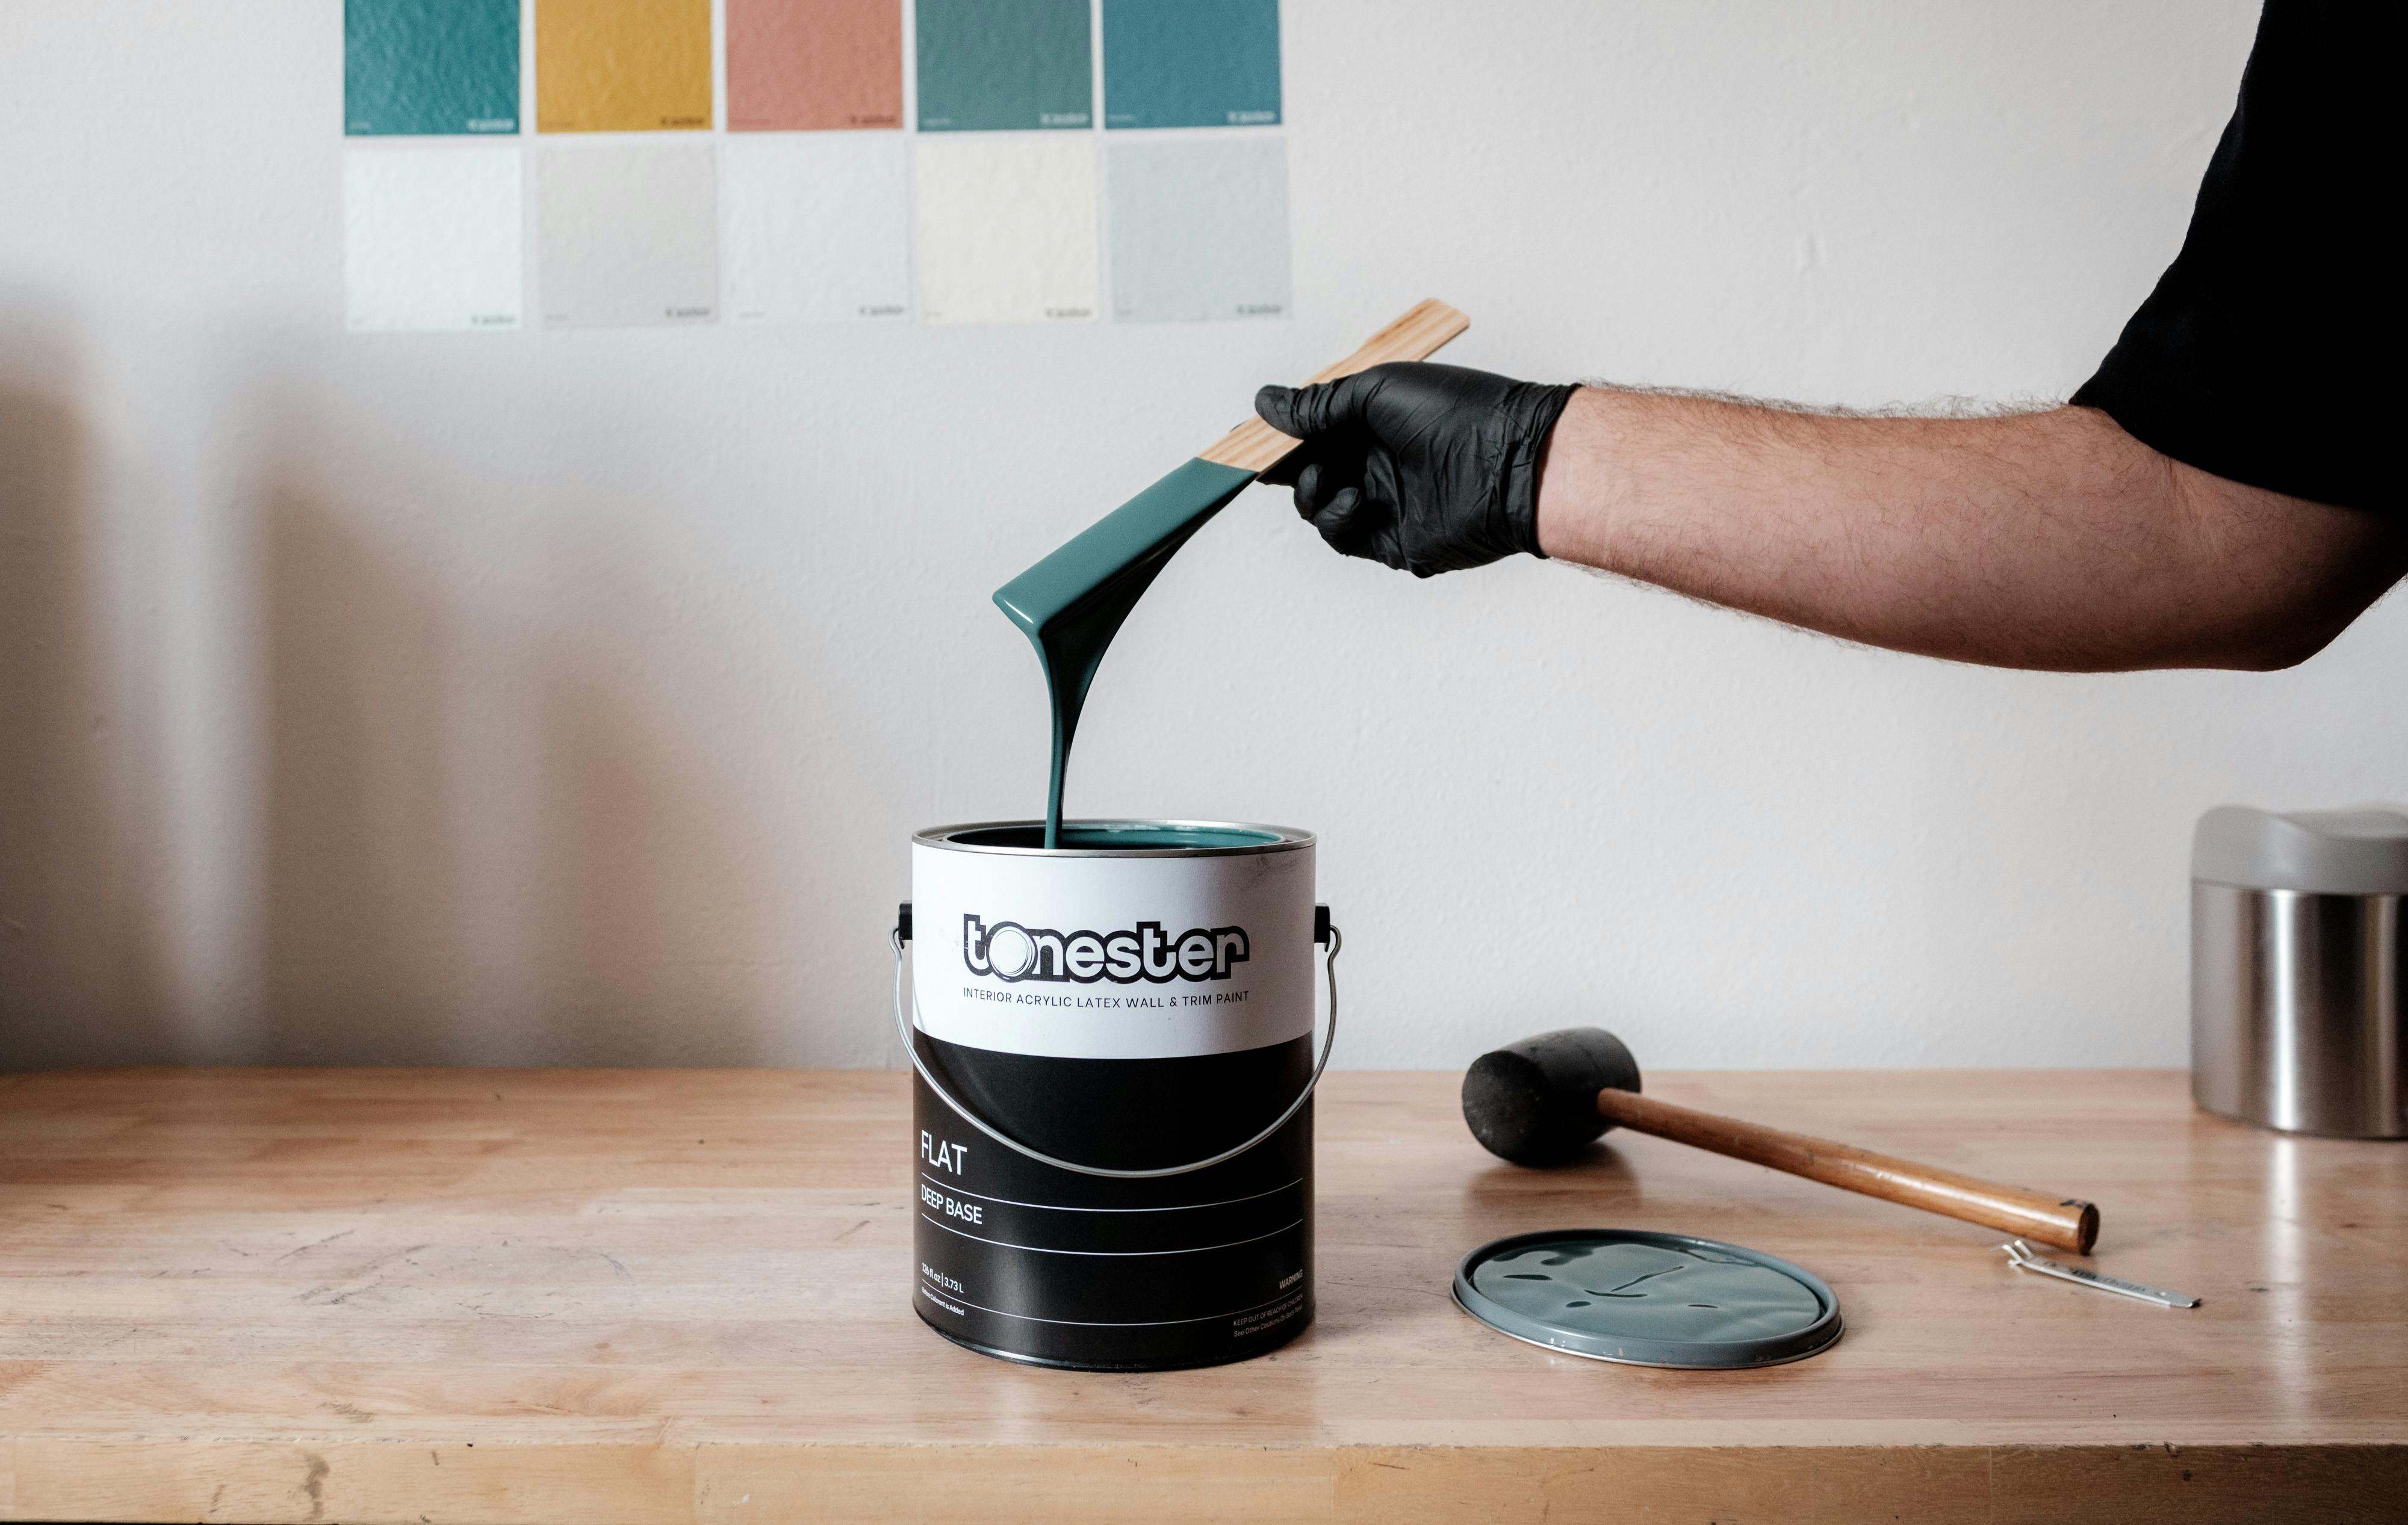
- Stir Sticks and Paint Tray: Keep paint well-mixed and ready to use.
Prepping Your Space
Clean and Repair Surfaces
Begin with a clean canvas. Remove dust, grease, and grime from walls using a damp cloth. Repair any holes or cracks with spackle, and sand smooth once dry. Proper preparation ensures a flawless finish.
Tape Off Areas
Use painter's tape to mask off areas you don't want to paint, such as trim, baseboards, and ceilings. Press the tape firmly to avoid paint seeping under the edges.
Painting Techniques for Beginners
Start with the Edges
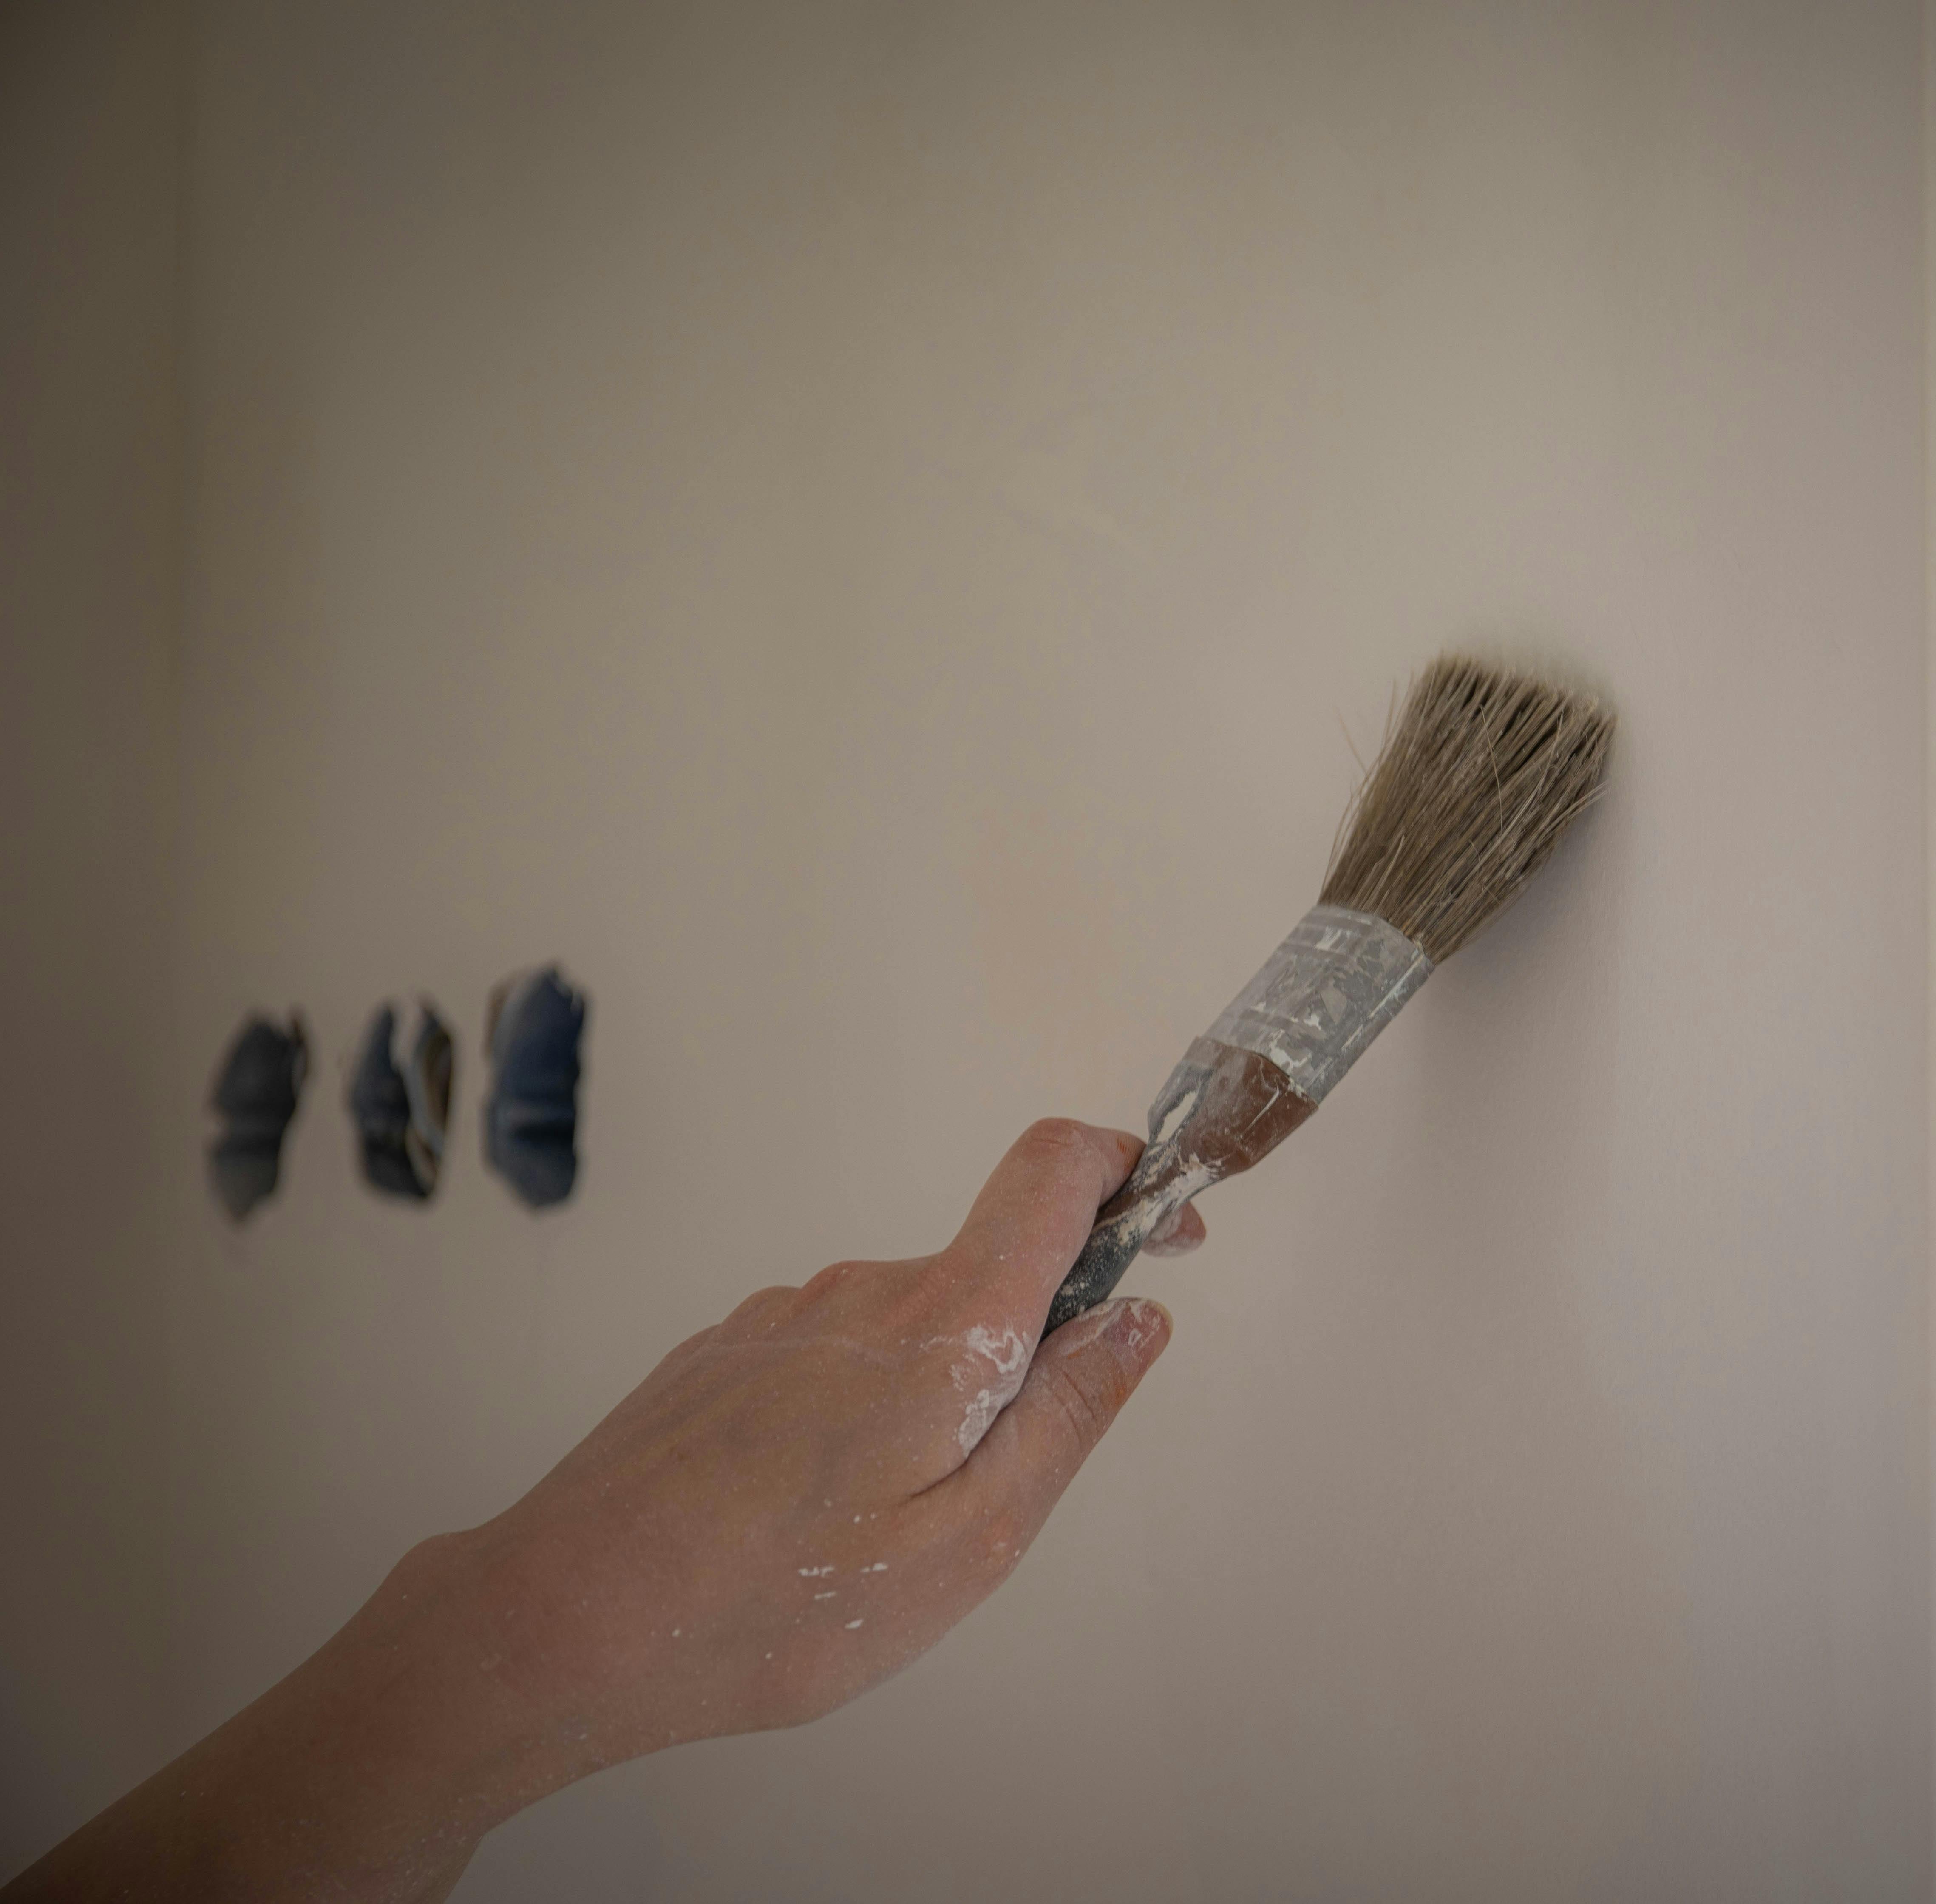
Begin by cutting in along the edges with a brush. This means painting around the perimeter of the walls, around windows, and along baseboards. This step ensures that your roller doesn't accidentally paint areas it's not supposed to.
Use the 'W' Technique
When using a roller, apply paint in a 'W' pattern, then fill in the gaps without lifting the roller. This technique helps distribute the paint evenly and prevents streaks.
Finishing Touches
Inspect for Touch-Ups
Once the paint is dry, inspect the walls for any missed spots or uneven coverage. Touch up as necessary, allowing ample time for drying between coats.
Remove Tape Carefully
Once the paint is fully dry, carefully remove the painter's tape. Pull it off at a 45-degree angle to avoid peeling off paint.
Maintaining Your Newly Painted Walls
After your DIY painting project is complete, maintaining the fresh look is essential. Clean walls with a damp cloth and mild detergent as needed, and avoid harsh scrubbing which can damage the paint.
Conclusion: Enjoy Your New Space
With these beginner-friendly tips, your DIY painting project can be a fun and fulfilling experience. Whether you've brightened a single room or transformed your entire home, enjoy the fruits of your labor and the new atmosphere you've created. Remember, if the project seems overwhelming, Drigotas Painting in Wilmington, OH is always here to assist with professional services tailored to your needs.
Happy painting!