Introduction to DIY Interior Painting
Painting your home's interior can be a rewarding and cost-effective way to refresh your living space. Whether you're looking to add a splash of color to your living room or brighten up a bedroom, doing it yourself offers flexibility and creativity. For homeowners in Wilmington, OH, understanding the basics of DIY interior painting can help ensure a successful project with professional results.
Essential Tools and Materials
Before you start, gather the necessary tools and materials. Having the right equipment makes the job easier and more efficient. Here's what you'll need:
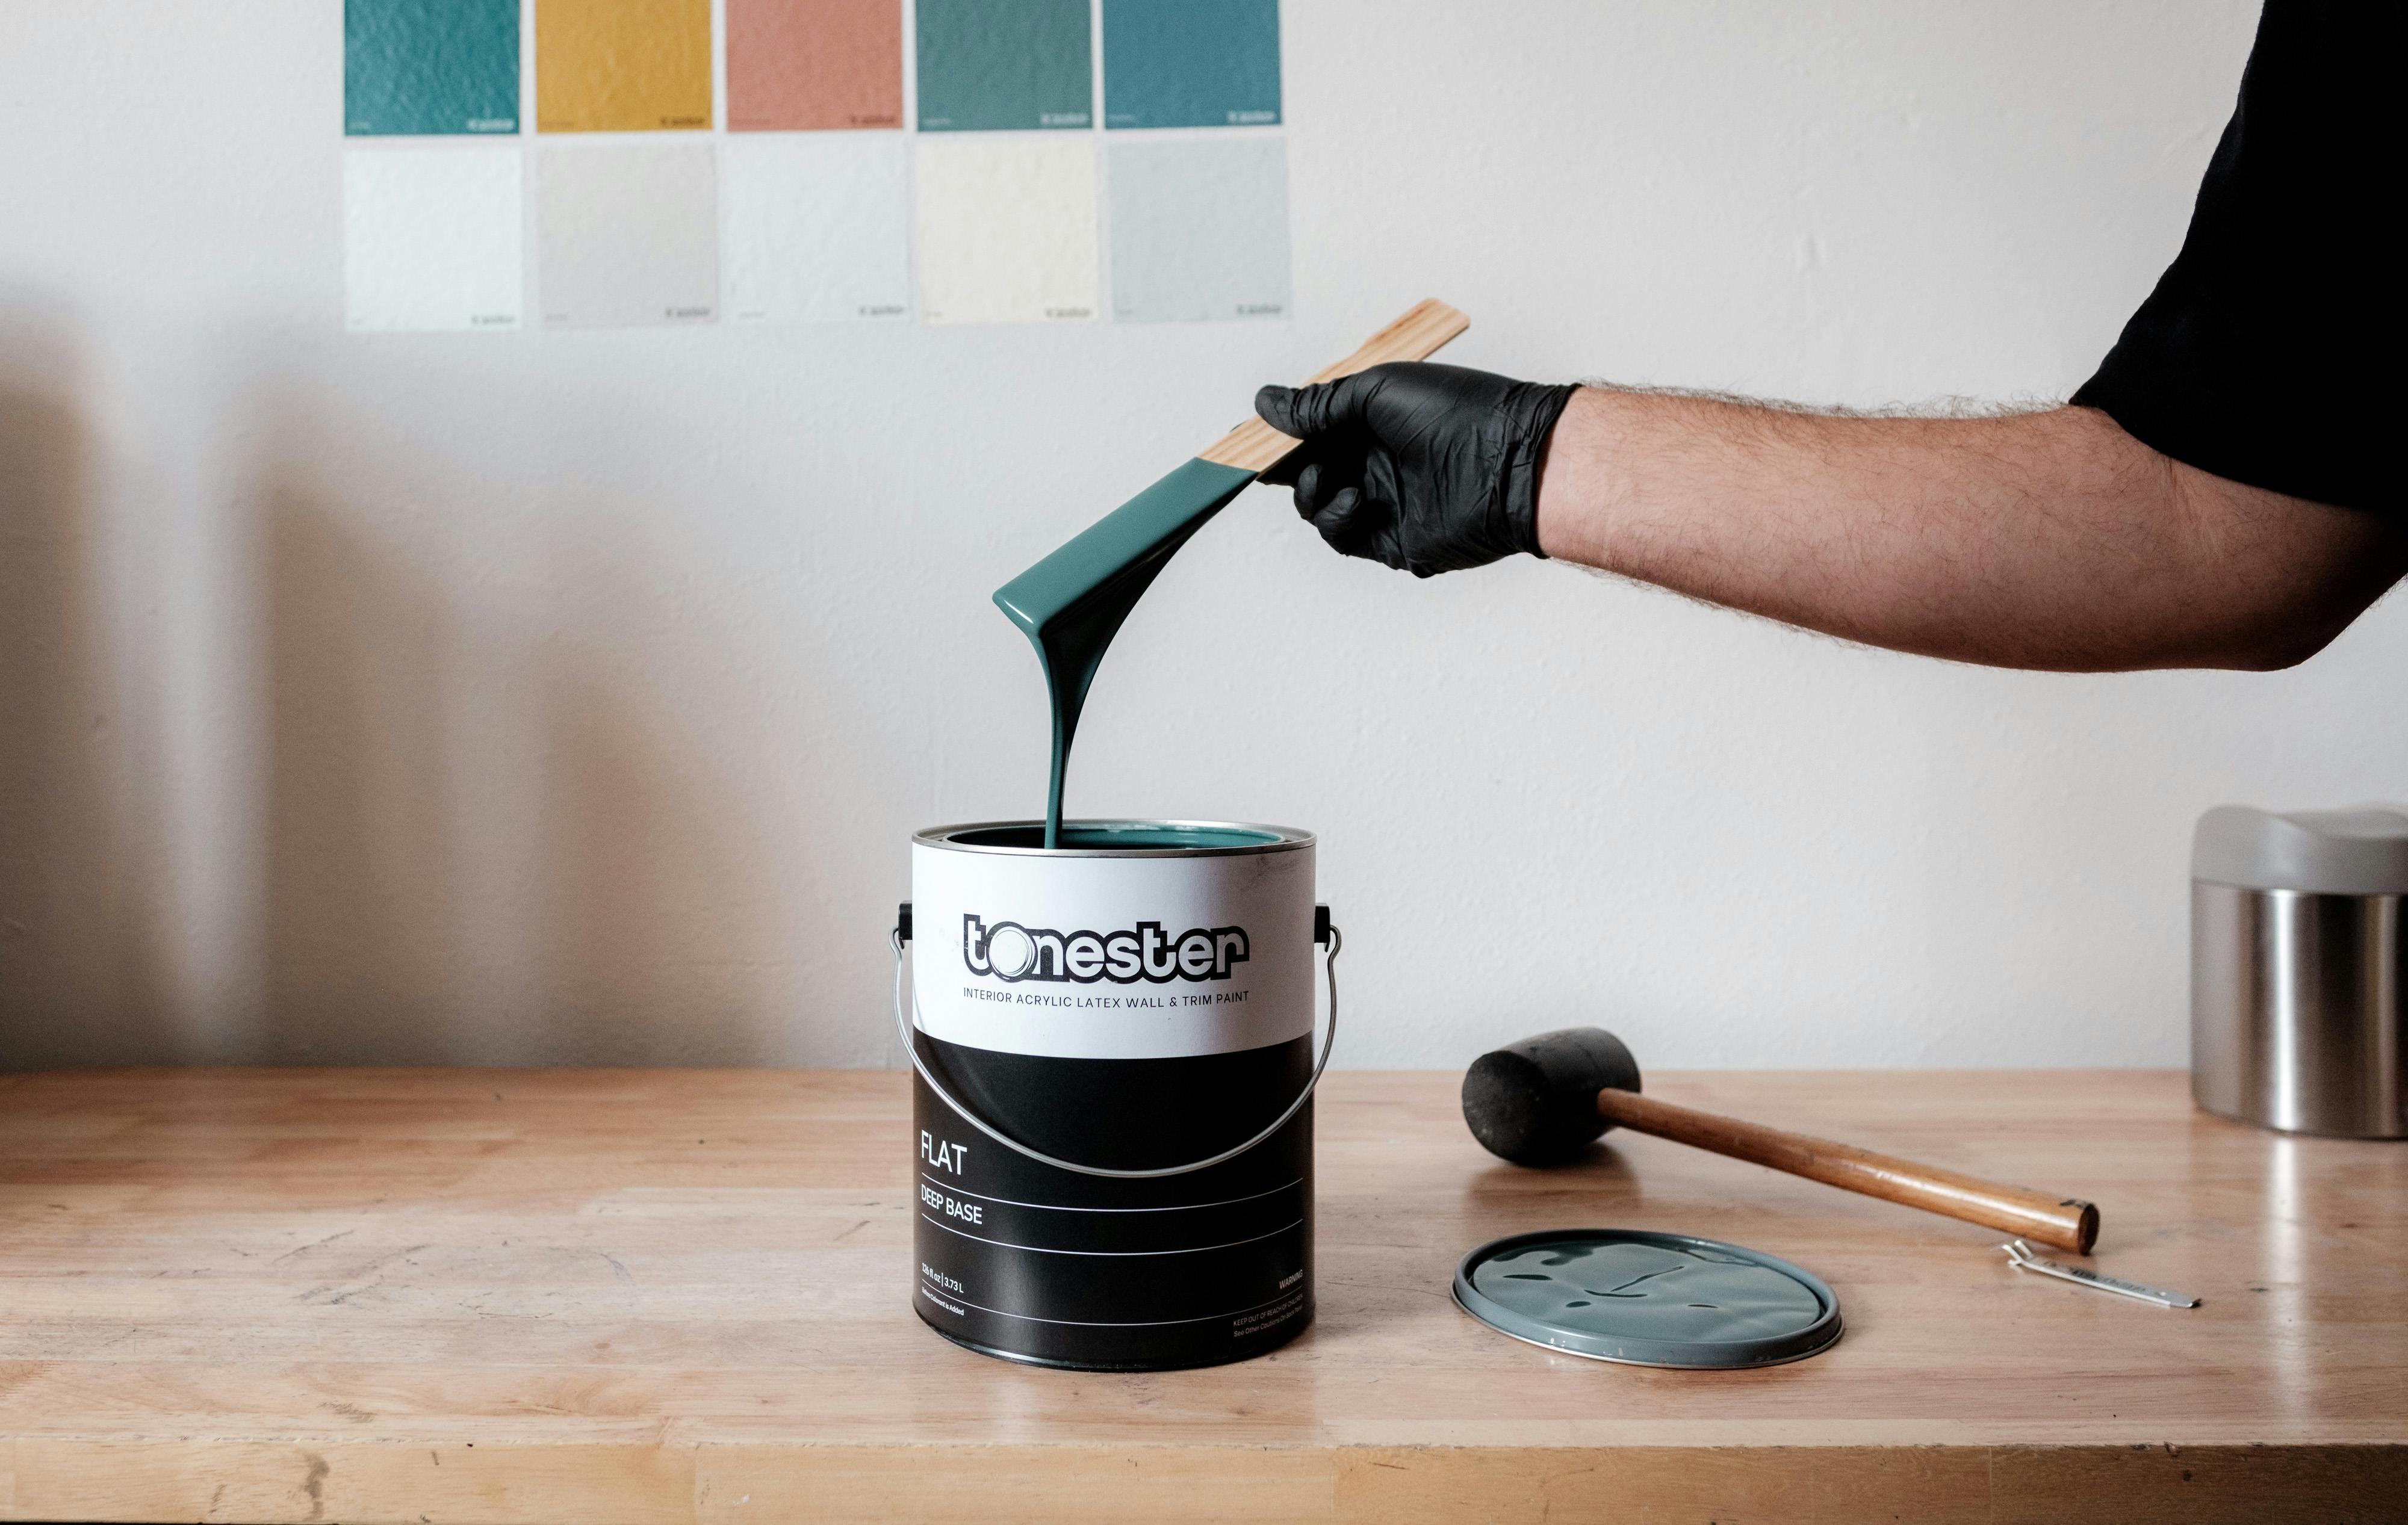
- Paint: Choose high-quality paint in your desired finish and color. Consider brands that offer durability and easy application.
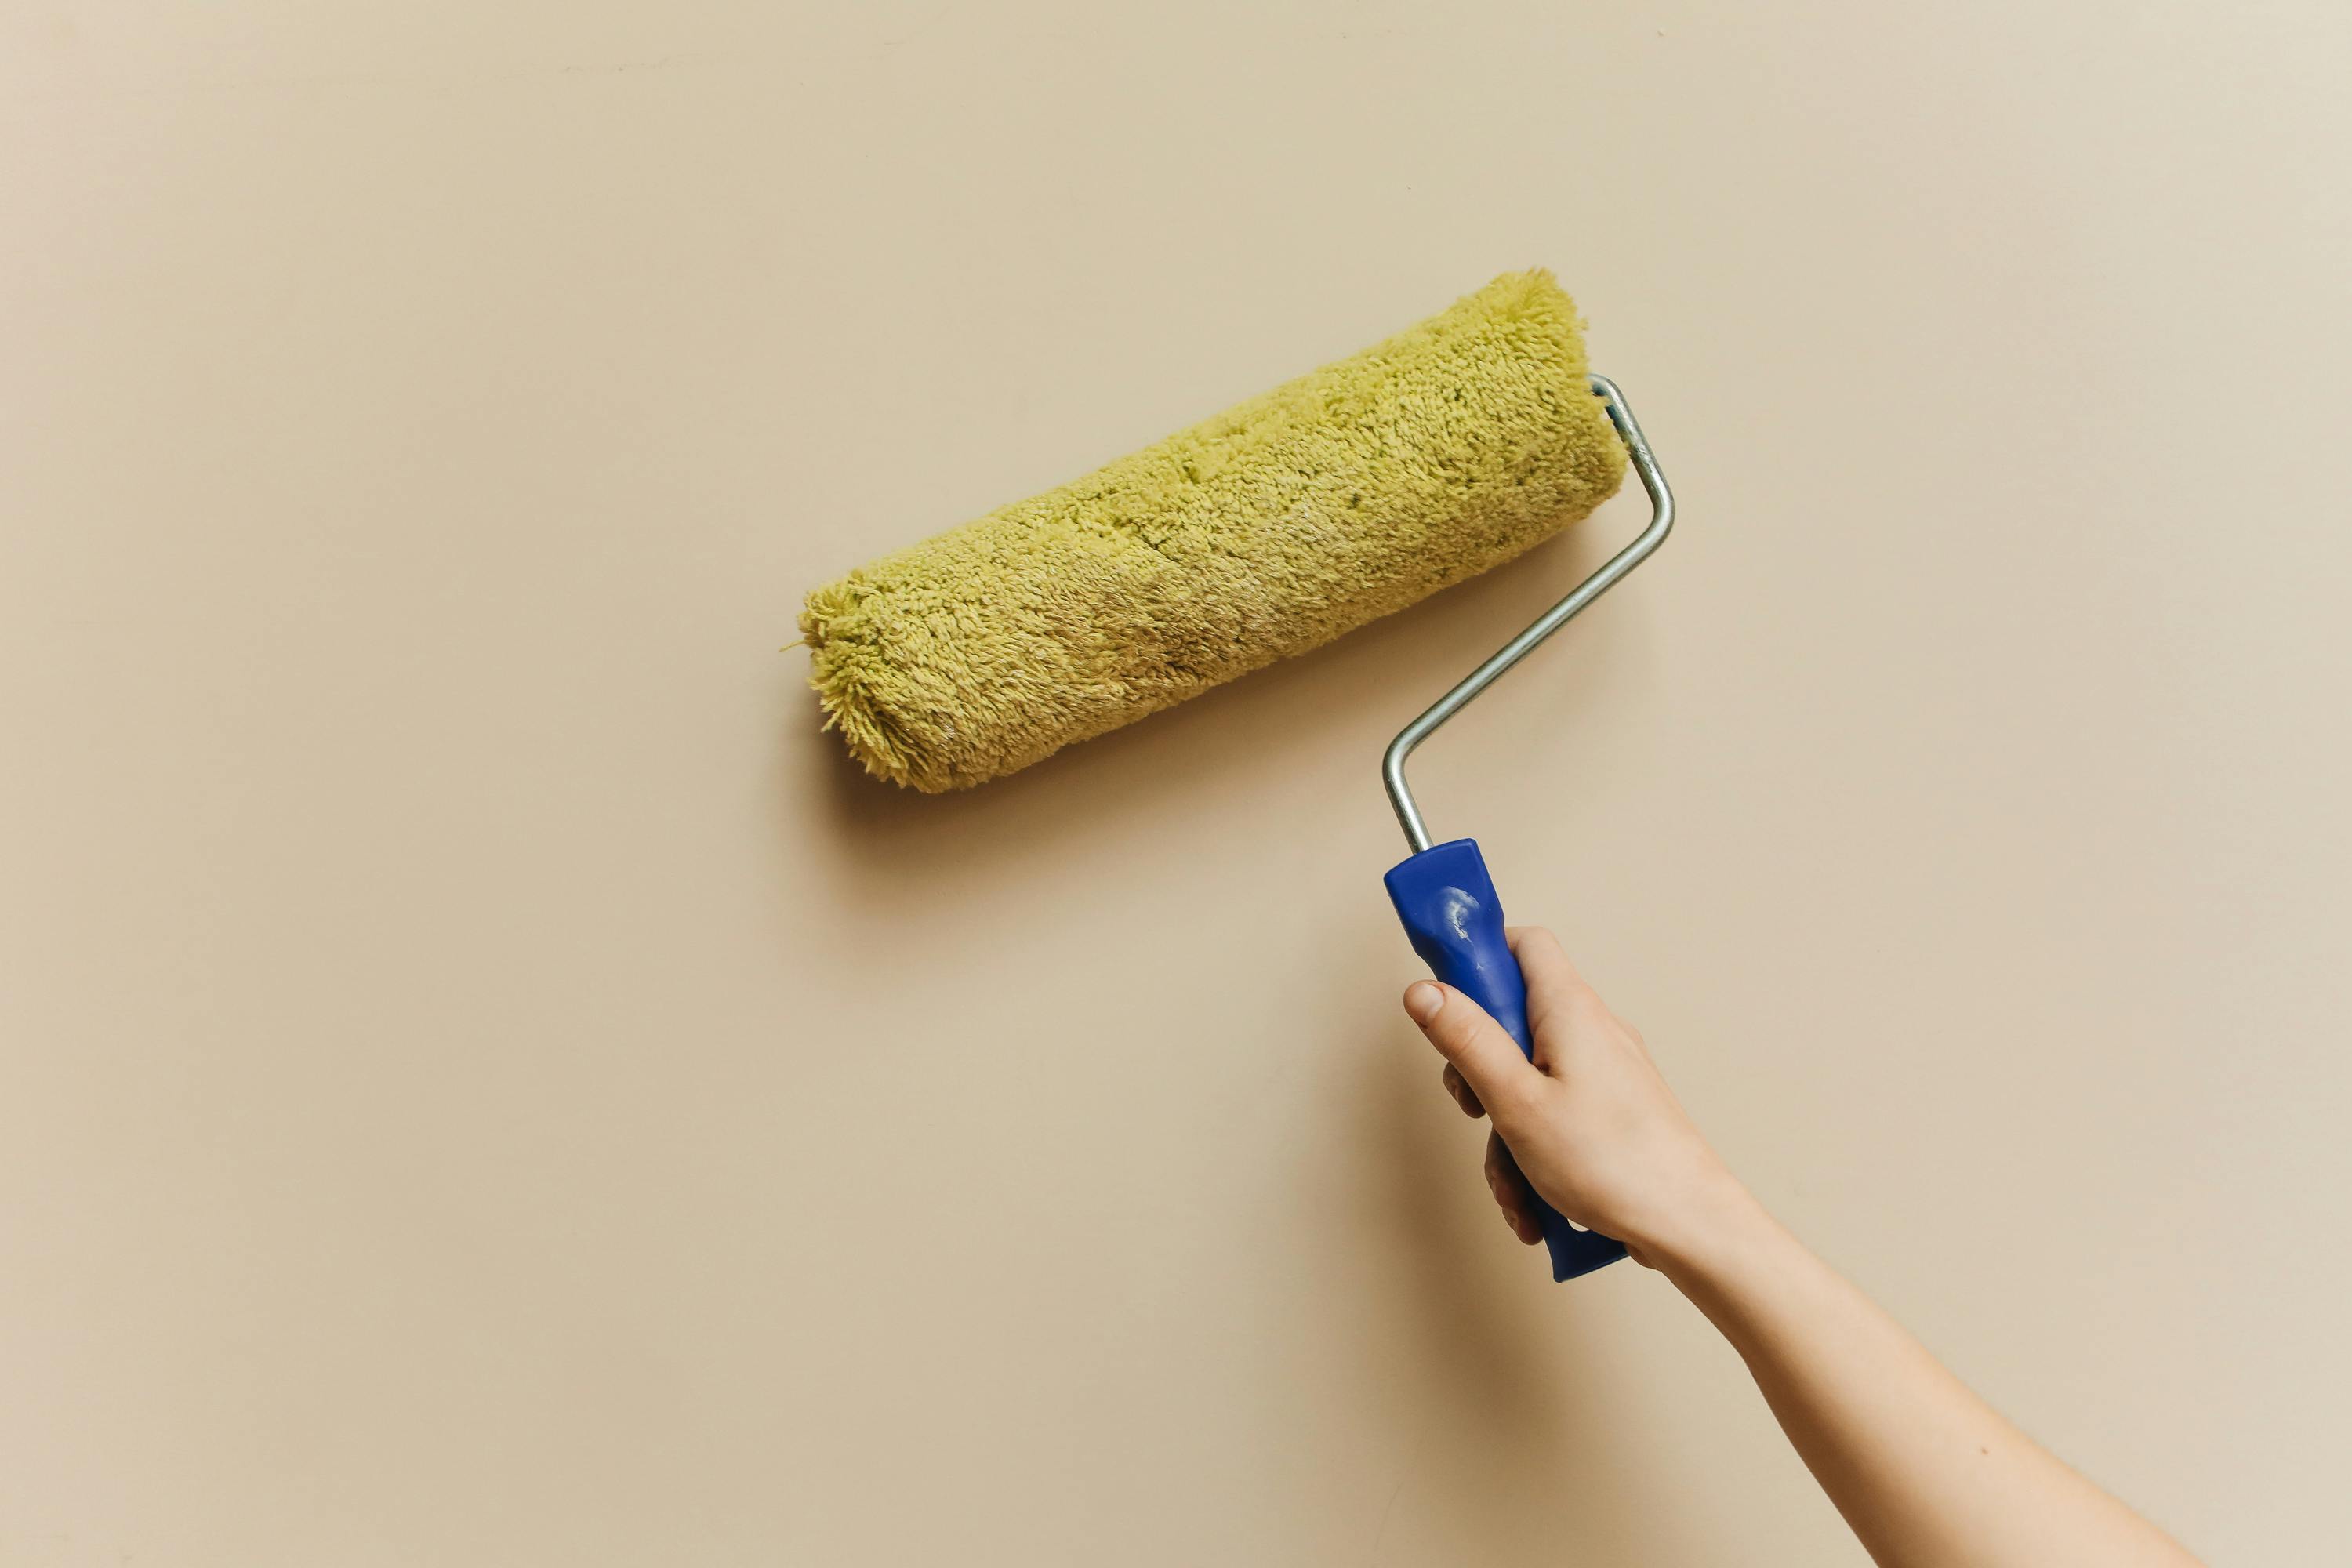
- Brushes and Rollers: Invest in a variety of brushes and rollers for different surfaces and textures. A quality angled brush is great for corners and edges.
- Painter's Tape: Essential for clean lines and protecting surfaces you don't want painted.
- Drop Cloths: Protect your floors and furniture with reusable or disposable drop cloths.
- Paint Tray: Use a paint tray to load your roller evenly.
- Sandpaper and Putty: Repair any wall imperfections before painting.
- Ladder: A sturdy ladder is necessary for reaching higher areas safely.
Preparing Your Space
Preparation is key to achieving a smooth, professional-looking finish. Follow these steps to prepare your space:
Clear the Room
Remove as much furniture and decor from the room as possible. Cover remaining items with drop cloths to protect them from paint splatters.
Clean the Walls
Dust and clean the walls to remove any dirt or grease that could affect paint adhesion. A mild detergent and water mixture works well for most surfaces.
Repair and Prime
Inspect your walls for cracks or holes, filling them with putty and sanding smooth once dry. If you're painting over a dark color or stained surfaces, apply a primer to ensure even coverage.
Applying Paint Like a Pro
With your space prepped, it's time to paint. Follow these tips to achieve a professional finish:
Cutting In
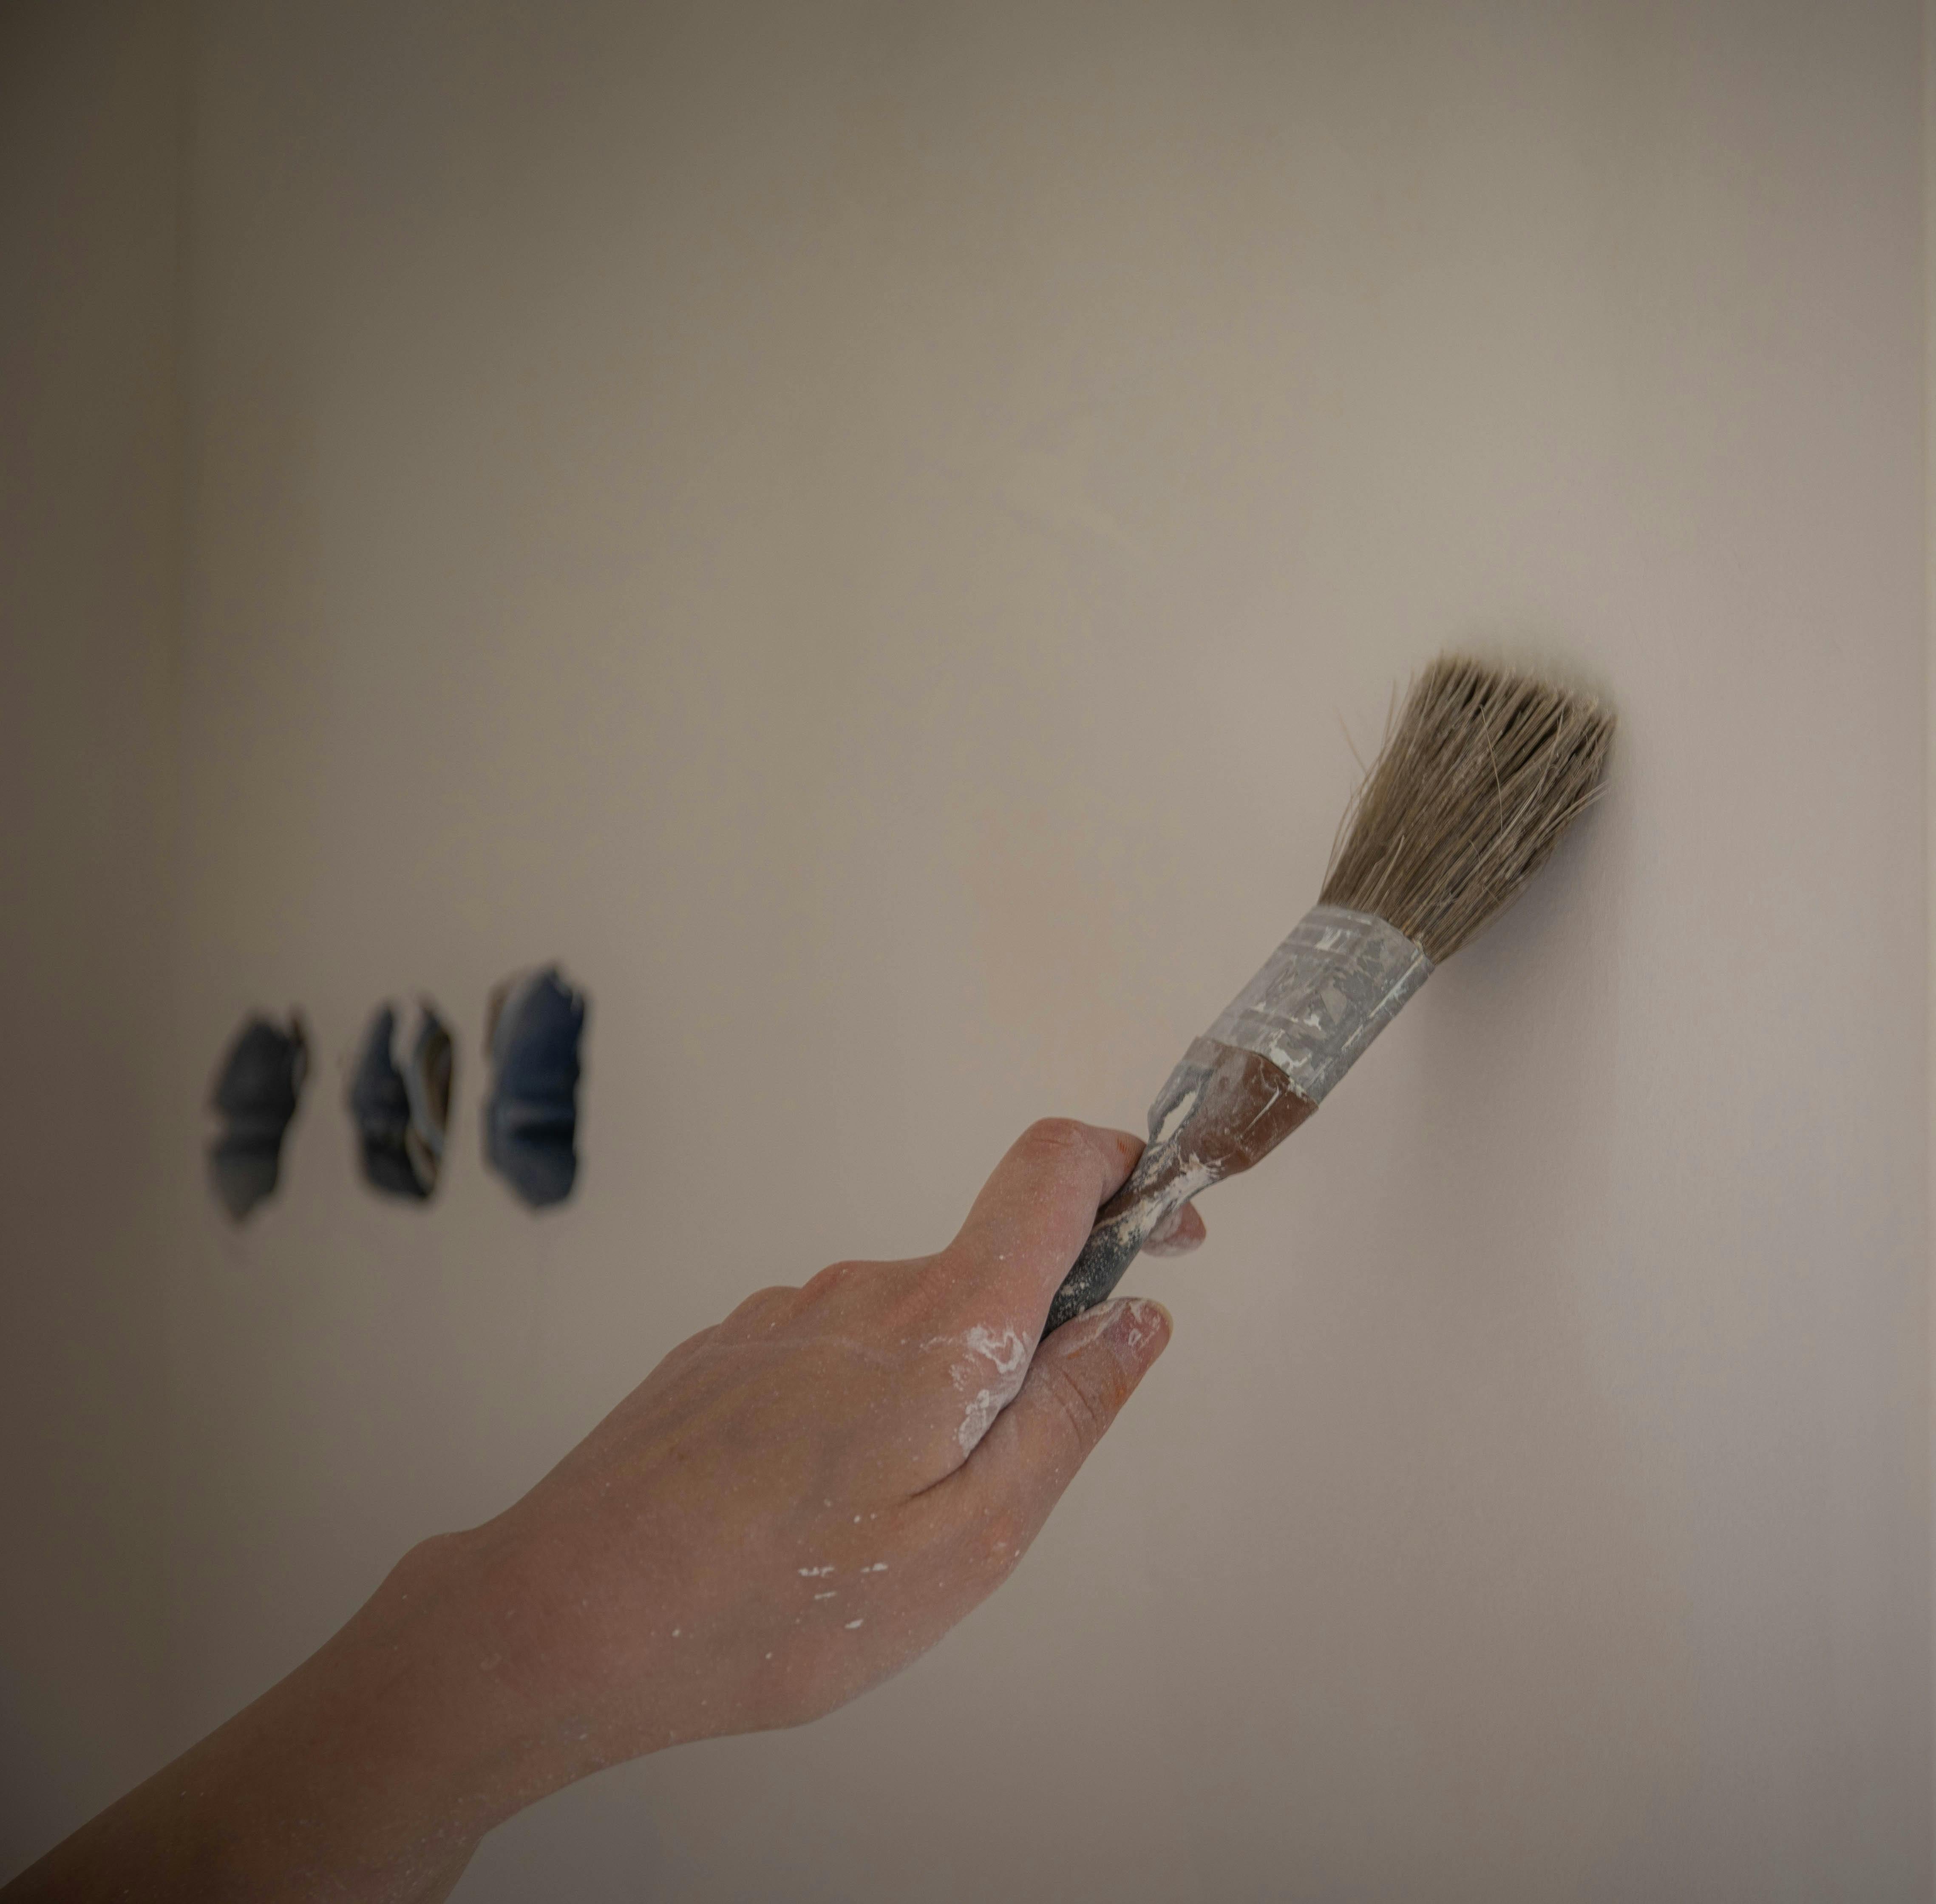
Start by 'cutting in' around the edges of the walls with an angled brush. This involves painting the areas where the roller can't reach, such as corners and along trims.
Rolling the Walls
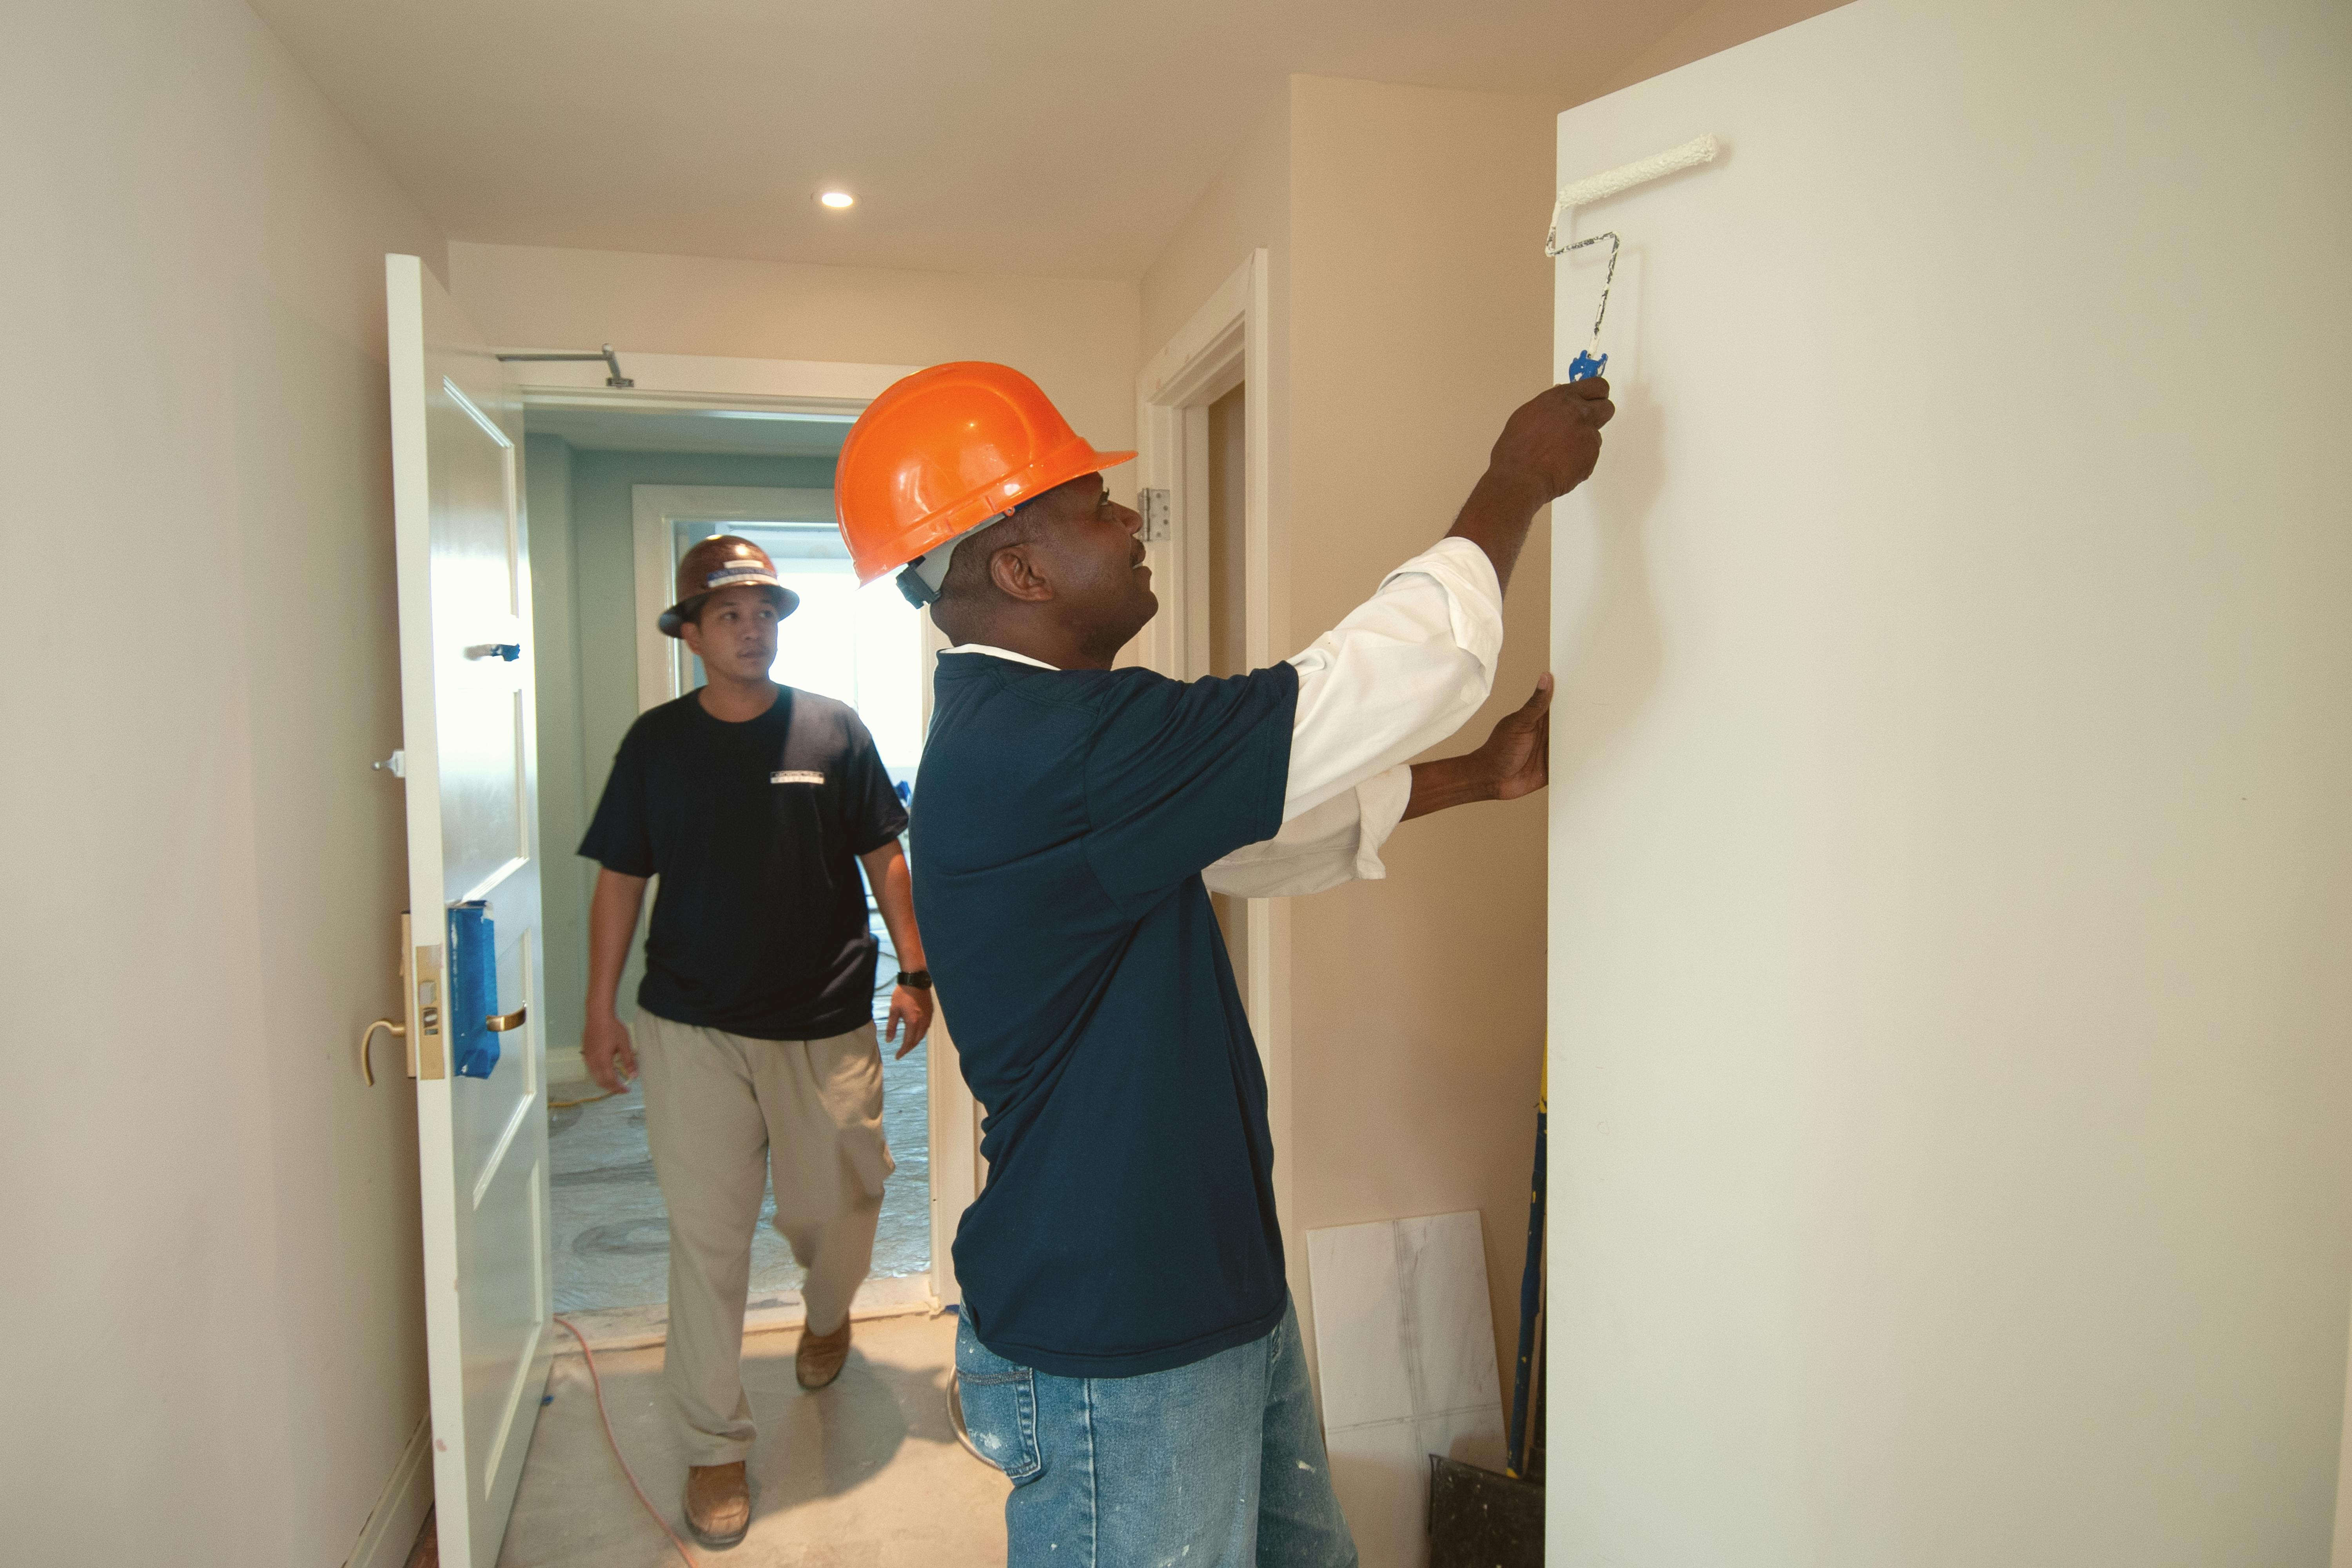
Once you've cut in, use a roller to paint the large wall areas. Load your roller with paint and apply it in a 'W' or 'M' pattern to distribute the paint evenly. Work in small sections, overlapping slightly to avoid lines.
Second Coat and Finishing Touches
Allow the first coat to dry completely before applying a second coat for richer color and better coverage. Remove painter's tape before the paint fully dries to prevent peeling.
Common Mistakes to Avoid
Even seasoned DIYers can make mistakes. Here are some common pitfalls to avoid:
- Skipping Prep Work: Rushing through preparation can lead to a poor finish. Take your time to clean and repair surfaces.
- Using Low-Quality Tools: Cheap brushes and rollers can leave streaks and fibers in your paint. Invest in quality tools for the best results.
- Overloading the Brush: Too much paint on your brush can cause drips and uneven application. Use a moderate amount of paint for control.
- Ignoring Drying Times: Follow the paint manufacturer's recommended drying times between coats to ensure even coverage and durability.
Conclusion
With the right preparation and techniques, painting your home's interior can be a fulfilling project that transforms your space. For Wilmington, OH homeowners, following this beginner-friendly guide ensures that your DIY efforts result in a beautifully painted room that enhances your home's aesthetic and value. If you decide you'd rather leave it to the professionals, Drigotas Painting is here to help with expert services tailored to your needs. Happy painting!